Bush Cooker Parts

Bush cookers rely on multiple critical components for optimal performance. Here are some common spare parts, their functions, and signs they may need replacement:
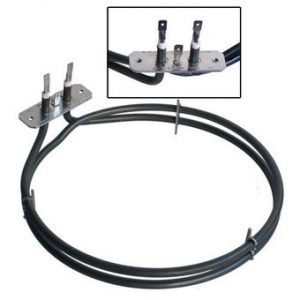
- Heating Elements
- Role: Provide heat for ovens and grills.
- Signs of Wear: Slow heating, uneven cooking results, or complete failure to heat.
- Thermostats
- Role: Maintain and regulate the oven temperature.
- Signs of Wear: Oven overheating or failing to maintain the set temperature.
- Control Knobs and Panels
- Role: Allow users to adjust temperature, settings, and timers.
- Signs of Wear: Loose knobs, broken buttons, or unresponsive control panels.
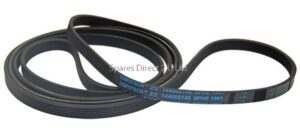
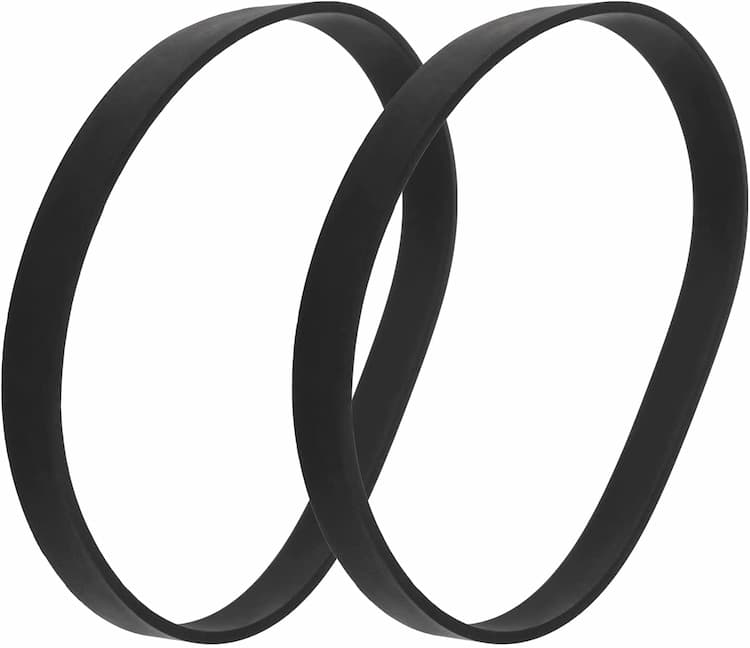
- Door Seals and Hinges
- Role: Ensure the oven door closes tightly to retain heat.
- Signs of Wear: Heat escaping or difficulty closing the door securely.
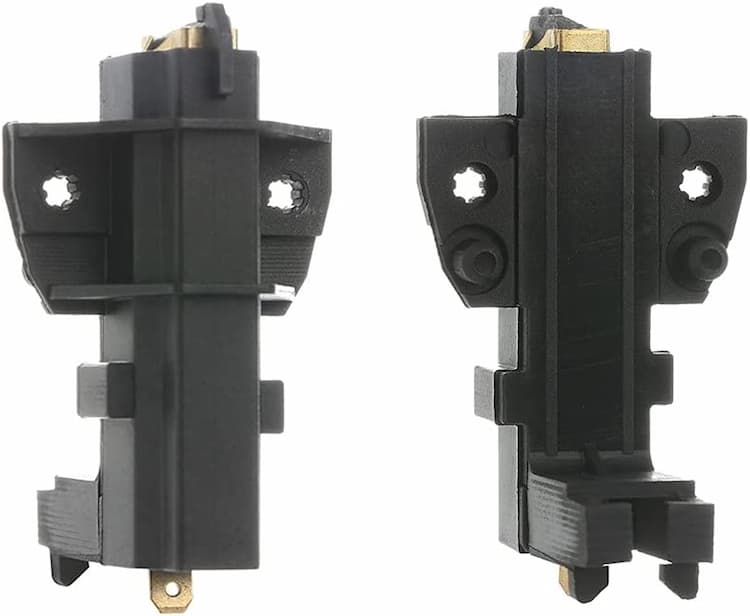
- Burner Caps and Ignition Systems (for gas cookers)
- Role: Facilitate safe and consistent ignition of gas burners.
- Signs of Wear: Burners not lighting or uneven flame distribution.
Technical Specifications
When choosing Bush cooker spares, pay attention to the following details:
- Model-Specific Compatibility: Ensure the part matches your Bush cooker’s model number (e.g., AG66T, AG56L).
- Dimensions: To ensure proper fitting, check sizes for parts like door seals and burner caps.
- Electrical Ratings: Verify voltage and wattage requirements for heating elements and thermostats.
- Material Quality: Durable materials like stainless steel for burners and silicone for seals enhance longevity.
Installation Guidance
Installing spare parts correctly is crucial for safety and performance. Here are some general tips:
- Heating Elements
- Disconnect the appliance from power.
- Remove screws and disconnect wires from the faulty element.
- Secure the new element and reconnect wires.
- Test for proper operation before using the oven.
- Thermostats
- Access the thermostat by removing the back panel.
- Disconnect the old thermostat and carefully connect the replacement.
- Reassemble and test the oven for accurate temperature control.
- Door Seals
- Gently remove the old seal from its groove.
- Install the new seal, ensuring an even fit without gaps.
Safety Tip: Always disconnect the cooker from the power or gas supply before starting repair work. Use appropriate tools to avoid damage.
Quality and Compatibility
- OEM Parts: Original parts from Bush or authorised suppliers ensure precise fit and reliable performance.
- Aftermarket Options: While more affordable, verify quality and compatibility before purchasing.
Buying Guidance
- Identify Your Cooker’s Model: Locate the model number on the rating plate, typically found inside the oven door or rear panel.
- Choose Reputable Suppliers: Purchase from trusted retailers or authorised distributors to avoid counterfeit parts.
- Compare Warranty Options: Opt for spares that come with warranties for added assurance

